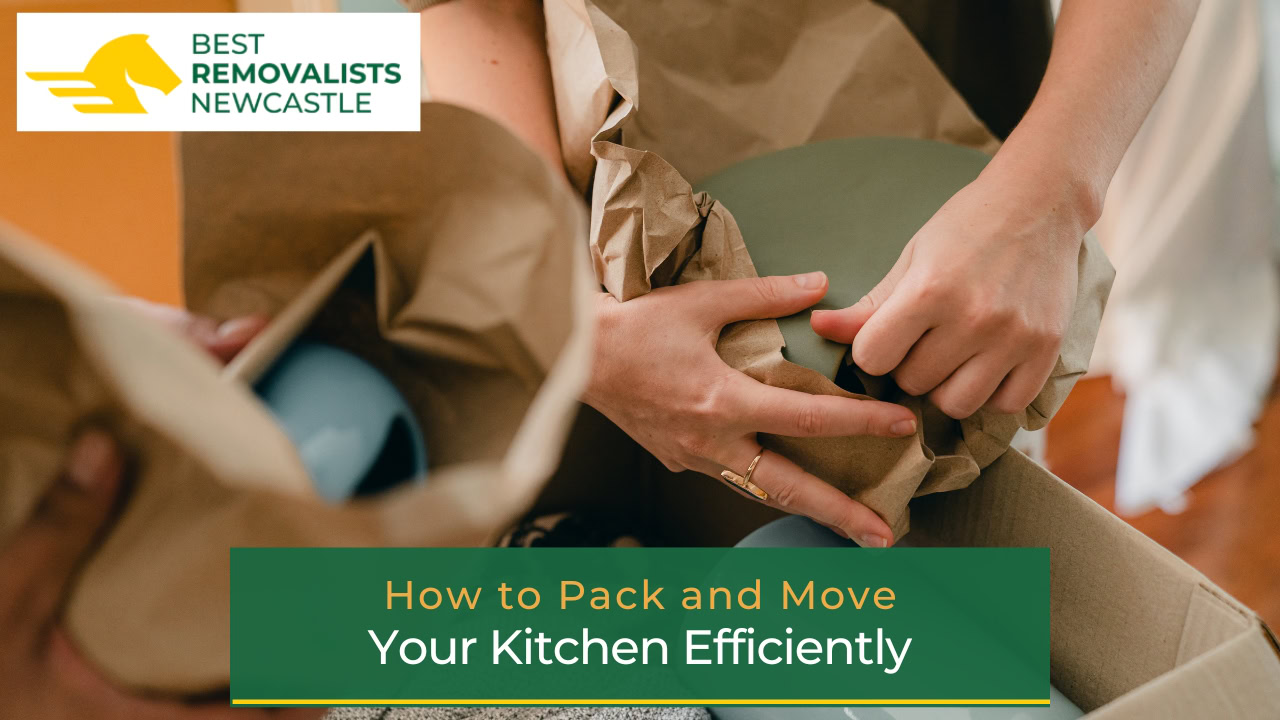
Packing your kitchen for a move requires planning and organisation. The kitchen contains fragile items, appliances, and perishable goods that need special handling. Without proper preparation, packing can be overwhelming and time-consuming.
This guide provides a structured approach to ensure your kitchen items are packed securely and transported safely.
Common Challenges When Packing a Kitchen
- Fragile items such as glassware and dinnerware require careful wrapping and secure packing to avoid breakage.
- Kitchen appliances need proper disassembly and packing to prevent damage during transport.
- Perishable food must be managed properly to avoid waste and spills.
- Heavy cookware and utensils must be packed in a way that prevents shifting during the move.
- Small kitchen tools and accessories can be easily misplaced or forgotten.
Step-by-Step Guide to Packing a Kitchen for Moving
1. Gather Packing Supplies
To ensure a smooth packing process, gather all necessary materials:
- Packing tape for sealing boxes securely
- Packing paper for wrapping fragile items
- Labelling markers for clear identification of box contents
- Scissors for cutting packing materials
- Plastic wrap for sealing loose items
- Bubble wrap for added protection of breakable items
- Heavy-duty moving boxes in various sizes
- Specialty dividers for glassware and dishes
2. Declutter and Organise Kitchen Items
Before packing, assess your kitchen inventory and remove items you no longer use. Consider donating or discarding duplicate utensils, expired pantry items, and broken or unused appliances.
This will reduce the number of boxes and simplify unpacking in your new home.

3. Set Aside Daily Essentials
Pack a separate box containing essential kitchen items you will need until moving day and immediately after arrival:
- Plates, bowls, and cutlery for each household member
- A frying pan or saucepan for basic meal preparation
- Dishwashing sponge, soap, and kitchen towels
- A kettle or coffee maker for hot beverages
- Basic condiments and non-perishable food for immediate use
4. Pack Non-Essential Kitchen Items
Begin with items that are not used daily:
- Food storage containers and unused cookware
- Decorative kitchen items, such as wall clocks and cookbooks
- Specialty appliances such as blenders and mixers
- Seasonal dinnerware and glassware
5. Packing Pantry Items and Non-Perishable Food
- Pack unopened bottles, such as cooking oils and condiments, in sealed plastic bags to prevent leaks.
- Group canned goods and boxed food together in sturdy boxes.
- Avoid packing expired food items.
- Use a cooler for transporting perishable food if necessary.
6. Securely Packing Flatware and Utensils
- Wrap flatware in plastic wrap and place it flat inside a box.
- Sort utensils by size and type before packing.
- Wrap knives individually in packing paper and secure them with rubber bands before placing them in a box.
- Avoid placing sharp kitchen knives upright inside the box to prevent injury.

7. Packing Dishes and Glassware
- Wrap each plate and bowl separately with packing paper.
- Place a layer of bubble wrap at the bottom of the box for cushioning.
- Stack plates vertically with padding between each to reduce pressure.
- Use specialty dividers for glassware to prevent breakage.
- Fill empty spaces with crumpled packing paper to prevent movement during transport.
8. Packing Pots, Pans, and Bakeware
- Stack smaller pots and pans inside larger ones and separate them with packing paper.
- Wrap glass lids in packing paper and store them separately.
- Avoid overloading boxes with heavy cookware to prevent them from breaking during transport.
9. Packing Kitchen Appliances
- Clean and dry all appliances before packing.
- Secure power cords by taping them to the side of each appliance.
- Use the original boxes if available; otherwise, find boxes that fit snugly.
- Fill empty spaces inside the box with packing paper to prevent shifting.
- Wrap fragile parts, such as glass blender jars, separately for added protection.
10. Handling Perishable Food Items
- Use up fresh food before moving day to minimise waste.
- Transport perishable food in an insulated cooler if necessary.
- Avoid packing refrigerated or frozen items with other kitchen supplies.

Additional Considerations for Packing a Kitchen
How Long Does It Take to Pack a Kitchen?
Packing a kitchen typically takes 4-6 hours, depending on the size of the kitchen and the number of items. Decluttering before packing can reduce the time required.
How Many Boxes Are Needed?
The number of boxes needed varies based on the kitchen’s size and contents. On average, a medium-sized kitchen may require:
- 5-6 large boxes for cookware and small appliances
- 8-10 medium boxes for dishes, glassware, and pantry items
- 3-5 small boxes for utensils and kitchen tools
- Additional specialty boxes for fragile items
Items That Should Not Be Packed Together
- Avoid packing heavy cookware with fragile glassware.
- Keep flammable items such as butane, aerosols, and lighters separate from kitchen supplies.
- Do not mix perishable food with household cleaning products.

Final Steps for a Smooth Move
- Clearly label all boxes with their contents and handling instructions.
- Use “Fragile” labels for boxes containing breakable items.
- Keep essential kitchen items separate for easy access upon arrival.
- Plan to unpack kitchen essentials first to ensure a functional kitchen in your new home.
Packing and moving a kitchen requires careful planning, but following these steps will help ensure a smooth transition. Organising kitchen items properly reduces stress and makes unpacking more efficient. A well-packed kitchen allows you to set up your new home quickly and resume normal cooking routines without hassle.
Need professional help with your move? Best Removalists Newcastle ensures a hassle-free kitchen packing and moving experience.
Contact us today for reliable and efficient moving services that suit your requirements.

